Detailed Explanation of How to decorate glassware with golden color
This set of procedures describes a mainstream glass gilding technology that combines UV glue pre-coating and hot stamping techniques. It produces exquisite, durable, and highly adhesive metallic effects. Below is an in-depth analysis of each step, including key details and considerations.
Core Principle
Traditional hot stamping (e.g., on paper) uses heat and pressure to transfer metallized foil directly onto the substrate. However, glass has a smooth and chemically inert surface, preventing the foil from adhering directly. Therefore, the core of this process is: first, create an “intermediate layer” on the glass that adheres firmly and can accept the foil (the cured UV glue layer); then, transfer the foil onto this glue layer via heat and pressure; finally, use oven baking to maximize the adhesion between the glue layer and the foil.
Step 1: Pre-coating with UV Glue
This is the foundation and most critical step, determining the success or failure of the final outcome.
- Purpose: To form a very thin, uniform resin layer on the glass surface that bonds well with both the glass and the subsequent foil.
- Glue Characteristics:
- Specialty: Must use UV glue specifically designed for glass hot stamping. This glue typically contains special silane coupling agents. One end of these molecules forms strong chemical bonds (siloxane bonds) with hydroxyl groups (-OH) on the glass surface (SiO₂), while the other end integrates with the organic resin, achieving excellent adhesion.
- Transparency: High clarity is essential to avoid diminishing the metallic luster.
- Leveling Property: Good flow ensures a smooth, flawless coating, preventing defects like orange peel or ripples.
- Application Methods:
- Manual Spraying: Suitable for small batches, irregular shapes, or large items. Requires skilled operators for even coverage.
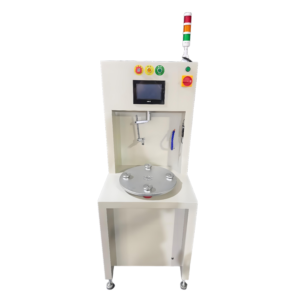
- Automatic Spraying/Curtain Coating: Ideal for high-volume, standardized production (e.g., entire base rims of stemware). Uses robotic arms or rotating jigs to ensure consistent thickness and uniformity.
- Pad Printing: Used for applying glue to localised, precise patterns, such as on cup rims.
- Key Control Points:
- Cleanliness: The glass surface must be absolutely clean, dry, free of oils and fingerprints. This usually involves ultrasonic cleaning and IPA (isopropyl alcohol) wiping in a dust-free environment.
- Coating Thickness: Too thin, and adhesion is poor; too thick, and curing is incomplete, affecting stamping quality. Typically controlled within a few to tens of micrometers.
- Application Precision: For applications like rim stamping requiring sharp boundaries, the glue pattern must be applied accurately.
Step 2: Curing the Pre-coated Glue with LED-UV
- Purpose: To use ultraviolet light of a specific wavelength to trigger a chemical reaction in the glue’s photoinitiators, instantly solidifying the liquid glue into a thin solid film.
- Why LED-UV?
- Cold Light Source: Traditional mercury UV lamps generate significant heat, which can cause glass to crack due to uneven thermal stress. LED-UV is a cold source, producing almost no heat, making it very safe.
- Energy Efficiency & Eco-friendly: Low energy consumption, long lifespan, and mercury-free.
- Instant On/Off: No warm-up needed, can be turned on and off instantly, improving production efficiency.
- Curing Process:
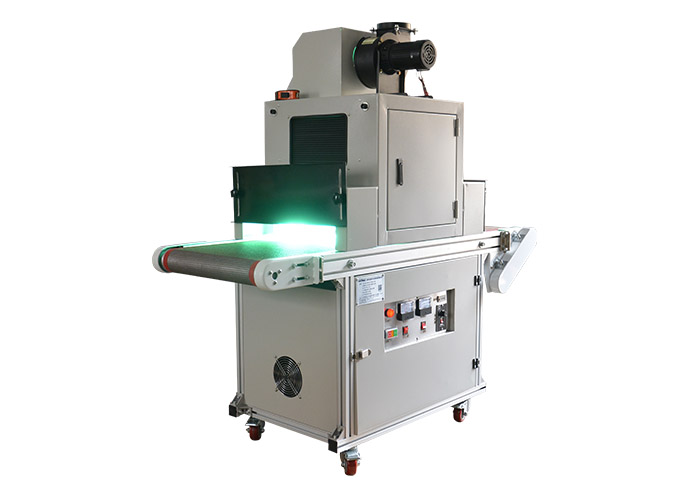
- The coated glassware passes through an LED-UV curing oven on a conveyor belt or is irradiated at a station.
- Curing time (exposure time) is very short, often just seconds or less.
- Post-Curing State: The glue changes from a viscous liquid to a solid film. It is now ready for hot stamping, but internal cross-linking may not be fully complete. Its ultimate adhesion strength is enhanced by subsequent baking.
Step 3: Hot Stamping onto the Cured Glue Layer
This step is similar in principle to traditional hot stamping but requires more precise control of pressure and temperature.
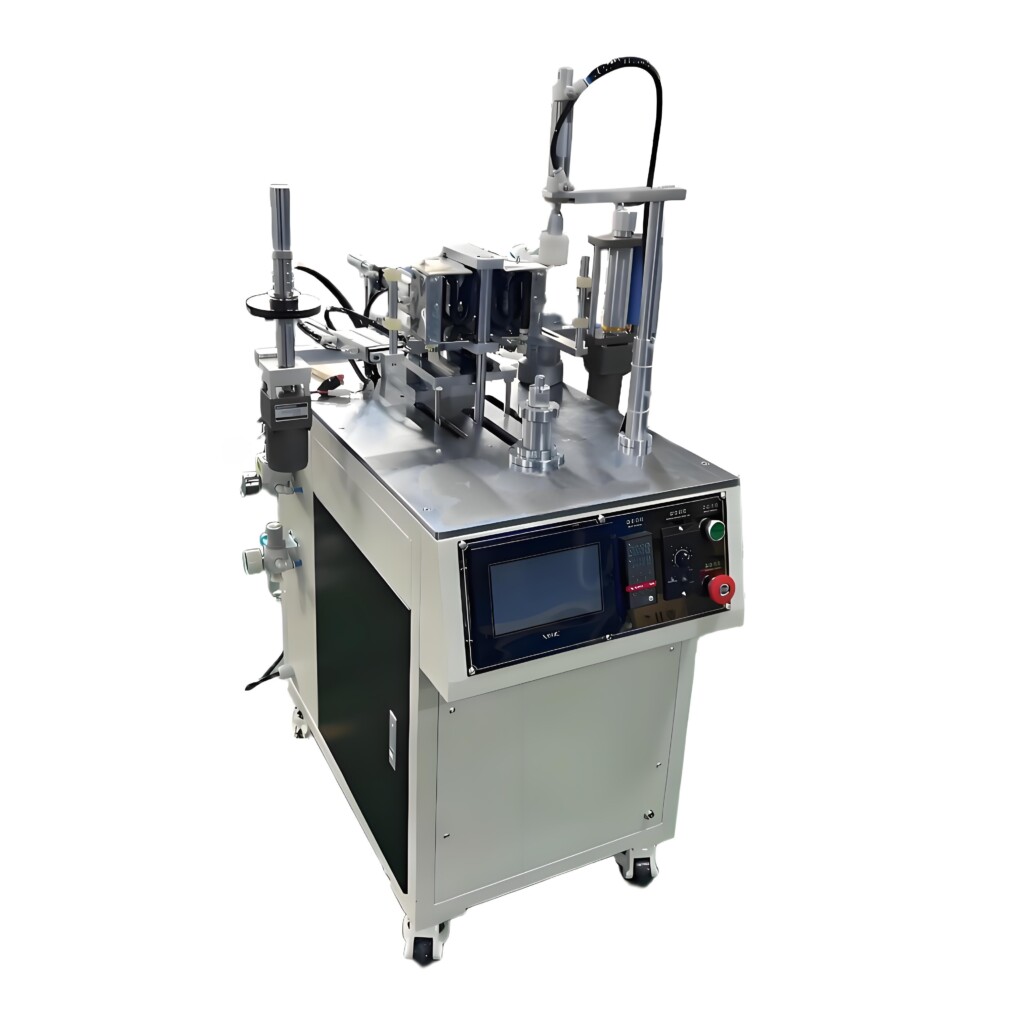
- Equipment: Uses specialized flatbed hot stamping machines or rotary hot stamping machines.
- Flatbed machines are used for flat or nearly flat areas like cup rims or tops.
- For cylindrical surfaces like the entire base rim or body of a stemware, a rotary hot stamping machine is essential. It works by pressing a silicone rubber roller (stamping wheel) against the glass. The machine rotates the glass, and the wheel continuously transfers the foil onto the entire circumference under heat and pressure.
- Stamping Triad:
- Temperature: Generally lower than for paper stamping, typically between 100°C – 130°C, depending on the UV glue and foil specifications. Too high a temperature can melt or damage the UV layer; too low prevents complete transfer.
- Pressure: Must be even and moderate. Excessive pressure can break the glass (especially delicate stems) or distort the pattern; insufficient pressure leads to poor adhesion.
- Time: For flatbed stamping, this is “dwell time”; for rotary stamping, it’s “rolling speed.” The time must be sufficient for the foil to fully release from the PET carrier film and transfer to the glue layer.
- Foil (Stamping Foil): Requires foil designed for hard surfaces (like plastics, glass). Its coating is formulated to bond well with the UV glue layer.
Step 4: Oven Baking to Enhance Adhesion
This is the crucial step for ensuring durability and passing tests (like dishwasher tests, abrasion tests).
- Purpose:
- Promote Post-Curing: Drives further cross-linking of any unreacted monomers and oligomers within the UV glue layer, achieving maximum hardness and adhesion.
- Relieve Internal Stress: Releases stresses induced by the heat and pressure during stamping.
- Strengthen Bonds: Stabilizes and strengthens the chemical bond between the UV layer and the glass substrate, and enhances the bond between the foil and the glue layer.
- Process Parameters:
- Temperature: Usually 120°C – 150°C, based on the glue manufacturer’s recommendation.
- Time: Typically 30 minutes – 60 minutes.
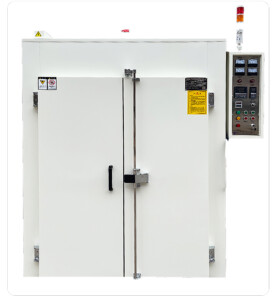
- Important: Must use a precision oven to ensure uniform and stable temperature. The heating rate should not be too rapid to avoid glass breakage due to thermal stress. Allow to cool naturally to room temperature before removal.
Final Result & Quality Inspection
After completing all steps, the product should meet these criteria:
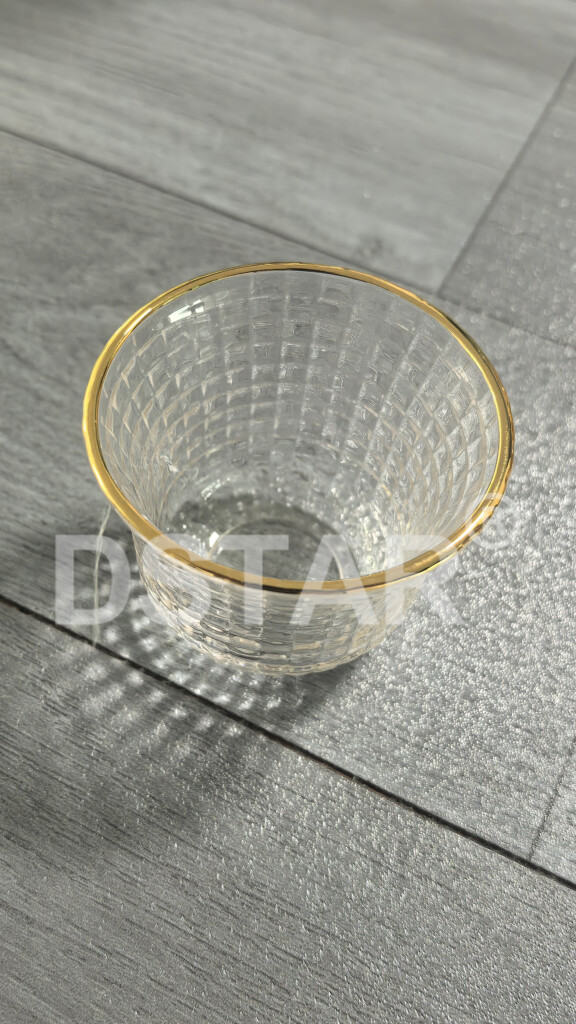
- Bright metallic luster, free from defects like missed spots, fogging, or halos.
- Excellent Adhesion: Passes cross-cut tape test (making a grid pattern on the foil and using adhesive tape to peel), with no foil removal.
- Durability Tests: Should withstand alcohol rubbing tests, abrasion tests (e.g., with an eraser), and simulated dishwasher cleaning tests.
Summary & Advantages
This combined process of “UV pre-coating + stamping + baking” effectively solves the challenge of stamping on glass, offering significant advantages:
- High Adhesion: Achieves strong bonds through chemical bonding and physical anchoring, far superior to traditional ink printing or cold foil.
- Excellent Metallic Effect: Can produce various high-end metallic finishes like mirror, brush, and holographic, enhancing product grade.
- High Durability: Scratch-resistant, wash-resistant, and alcohol-resistant, suitable for frequently used ware.
- Eco-friendly: Compared to processes like electroplating or water transfer printing, it is more environmentally friendly, without heavy metal pollution or wastewater discharge.
However, this process involves significant equipment and materials (UV coating equipment, LED-UV lamps, stamping machines, ovens, specialty glue, and foil), resulting in higher technical barriers and initial investment. It is thus more suitable for medium to high-end glassware mass production.


#glasswarehotstamping #hotstampingprocessing #hotstampingmachine
 DSTAR machine

WeChat
Scan the QR Code with wechat