Pad printing is also called tampography or tampo printing, is an indirect offset (gravure) printing process where a silicon pad takes a 2-D image from a laser engraved (etched) printing plate (also called cliché) and transfers it to a 3-D object. Thanks to pad printing, it is now possible to print all kind of difficult shaped products such as curved (convex), hollow (concave), cylindrical, spherical, compound angles, textures, etc. which were not available with traditional printing processes.
To be able to pad print you need some essential parts:
HOW TO PAD PRINT?
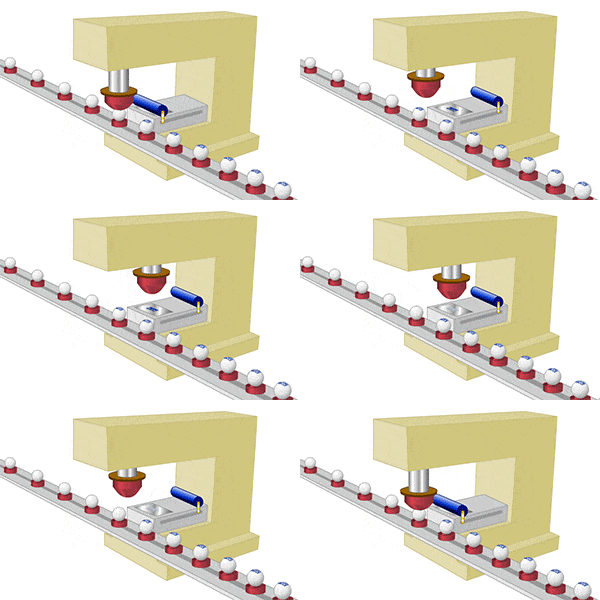
Step 1: The closed (sealed) ink cup sits over the engraved (etched) artwork area of the pad printing plate, covering the image and filling it with ink. This is called the home position.
Step 2: The closed ink cup moves away from the engraved artwork area, taking all excess ink and exposing the engraved image, which is filled with ink. The top layer of ink becomes tacky as soon as it is exposed to the air; that is how the ink adheres to the transfer pad and later to the product to be printed.
Step 3: The transfer pad presses down onto the printing plate momentarily. As the pad is compressed, it pushes air outward and causes the ink to lift (transfer) from the engraved artwork area onto the pad.
Step 4: As the transfer pad lifts away, the tacky ink film inside the engraved artwork area is picked up on the pad. A small amount of ink remains in the pad printing plate.
Step 5: As the transfer pad moves forward, the ink cup also moves to cover the engraved artwork area on the printing plate. The ink cup again fills the engraved artwork image on the plate with ink in preparation for the next cycle.
Step 6: The transfer pad compresses down onto the product, transferring the ink layer picked up from the printing plate to the product surface. Then, it lifts off the substrate and returns to the home position, thus completing one print cycle.
WHAT CAN YOU PRINT WITH PAD PRINTING?
Pad printing is used for printing on difficult products in many industries. Printing International focuses especially on specific product groups, such as:
- The pharmaceutical sector for printing on coated tablets and gel capsules
- The medical sector for printing on components of medical devices such as syringes, inhalers, insulin pens, catheters, etc.
- The candy industry where coated sweets and chewing gums are printed.
- Sporting goods
- The cosmetics industry for decorating perfume bottles, lipstick holder, etc.
- Beverage packaging for printing on bottle caps, corks, etc.
Toys printing 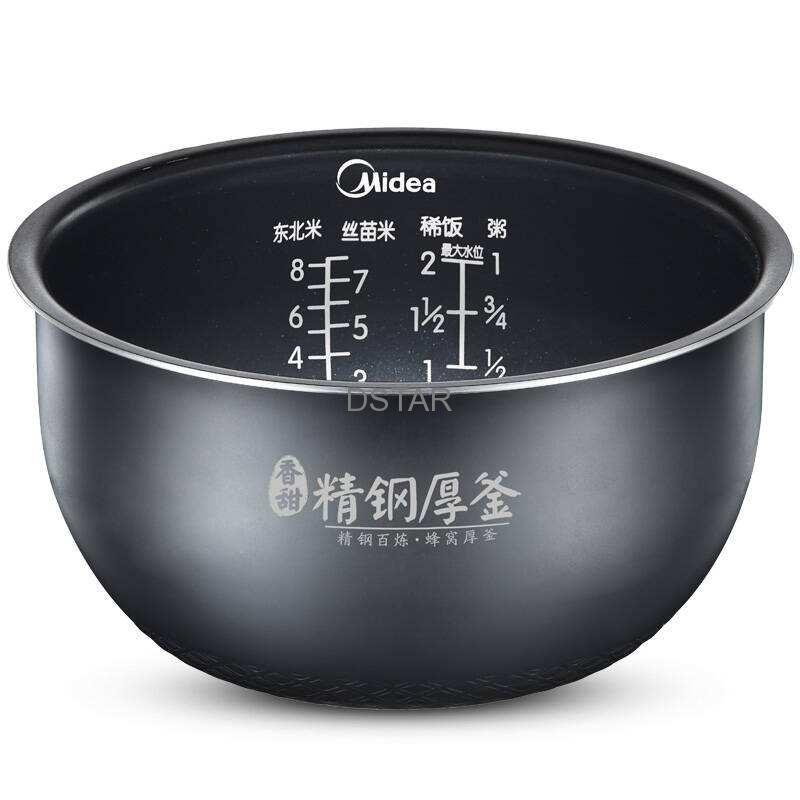
Cooker printing 
Mask pad printing 
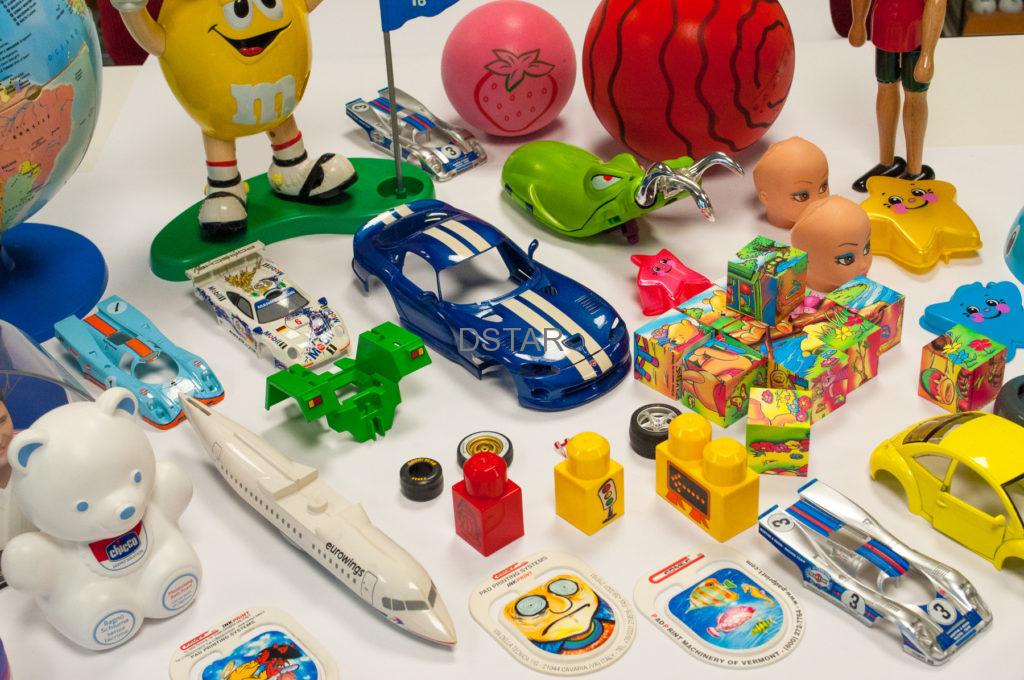
toys pad printing 
hard helmet printing 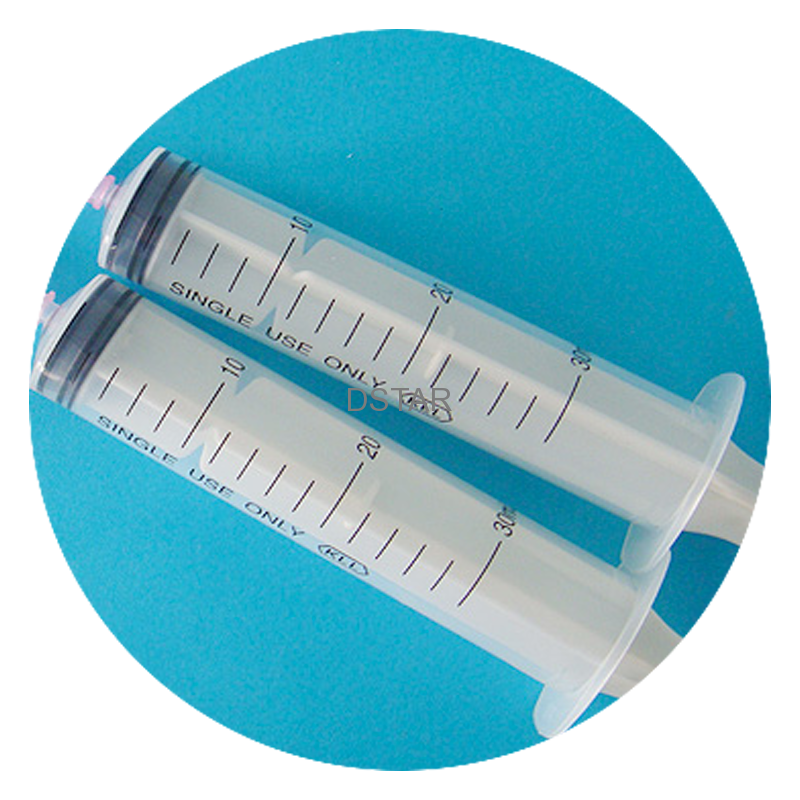
medical supplies printing
WHAT IS THE FUTURE OF PAD PRINTING?
With the fast pace of medical and technological design advances, finding a tool that bridges the past and future is critical, both on the manufacturing floor and in budget meetings. Pad printing is a tried and true technology that is flexible enough to adapt to a vast variety of substrates and substances. The need to customize materials deposition will only increase as market niches continue to increase and narrow.
Designers, manufacturers, engineers and managers would be well served to explore the ways pad printing can be used for non-decorating, non-identifying purposes. It’s proven that the best tool is one with many uses and ideal for turning a problem into a solution: just add a full measure of creativity and a spark of imagination.
WORKING PRINCIPLES
There are different types of pad printing machines. But all these machines are based on one or two basic operating systems. These two systems are called open ink well pad printing system and sealed ink cup pad printing system
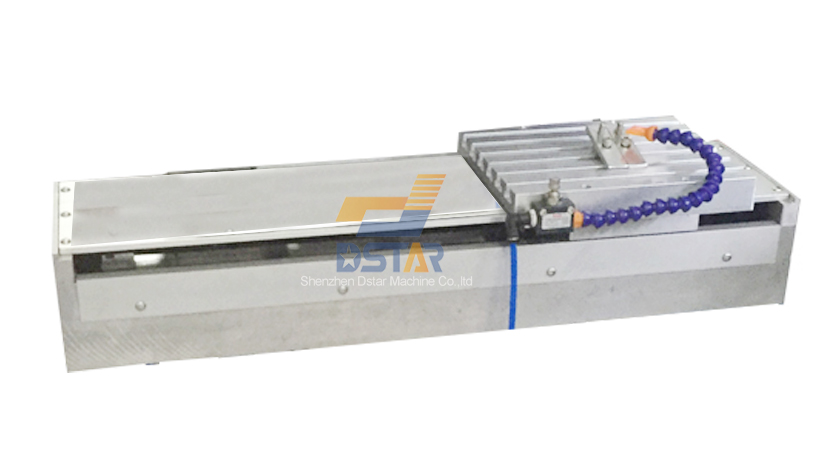
Sliding shuttle 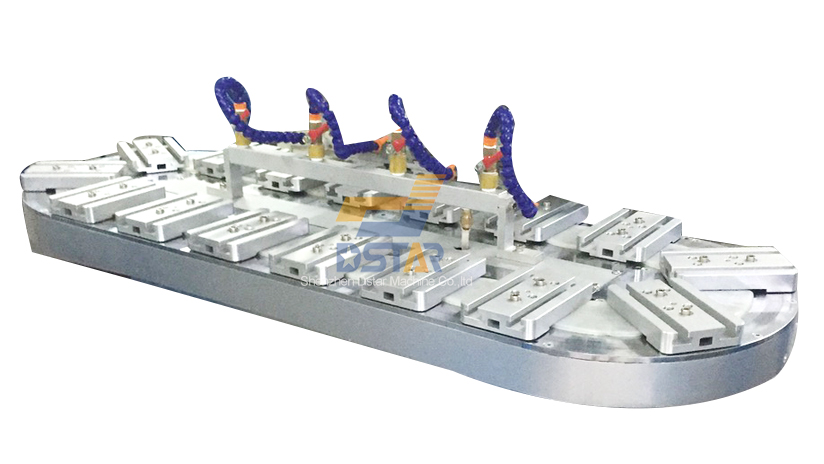
Oval belt conveyor 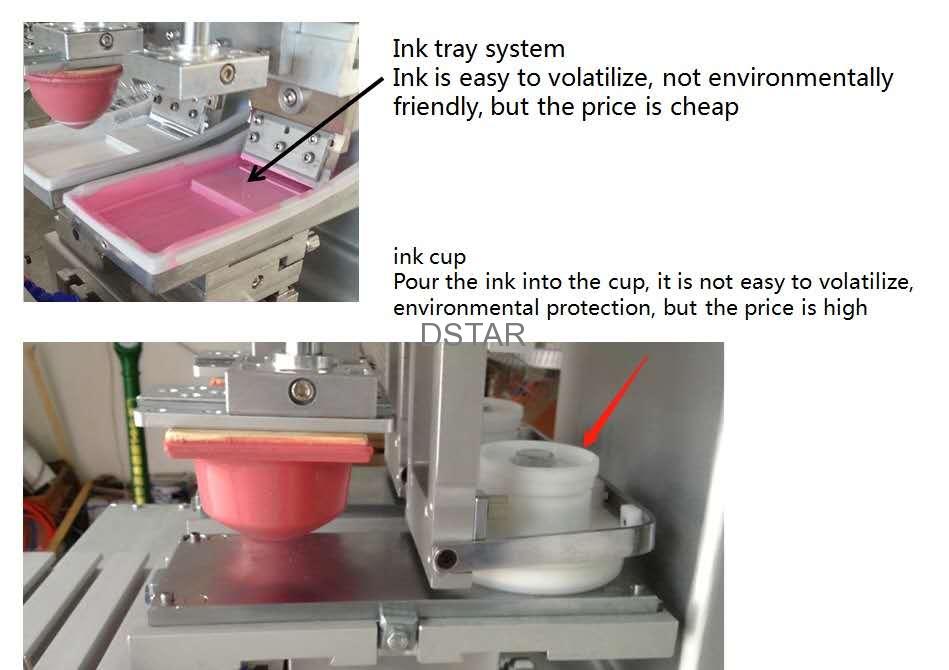
open ink well and sealed ink cup system
Step 1: the entire printing plate is covered with ink.
Step 2: scraping the printing plate in such a way that only ink remains in the engraved images. After the printing plate is wiped by the doctor blade, the solvent on the top of the ink starts to evaporate, improving the ink’s ability to wet the pad.
Step 3: the pad is positioned above the printing plate and is pressed onto it to pick up the ink. Due to the changes in the ink, the ink sticks to the pad.
Step 4: the pad is now positioned above the substrate. The ink undergoes the same rheological changes as in step 2. The ink loses its affinity for the pad. Meanwhile, the printing plate is covered with ink again.
Step 5: the pad is pressed onto the product to transfer the image. The adhesion between the ink and substrate is bigger than the adhesion between the ink and pad. During this “step-by-step” impression, the pad is designed to roll on the product from the center to the outside. If the correct tampon is used, the angle at which the pad touches the substrate should never be at an angle of 0°. If this were the case, the air would get trapped between the tampon and the product. This would then result in an incomplete transfer of the image.
Step 6: the ink is transferred to the product and the pad returns to its original shape. If the printing went well, the pad should be completely clean afterwards. But often it is pushed extra on an adhesive tape that will remove the last ink residues and dust particles.
The closed ink cup system is different from the open-well system in this way, that the ink is not directly exposed to the air. The ink is held in a closed container which also performs the doctoring function. The inking takes place when the ink cup is positioned above the printing plate by a lateral movement. The sharp edge of the ink cup, called scraping ring, behaves in the same way as the doctor blade in the open ink system. The scraping occurs when the ink cup moves over the printing plate. In other machine versions with this principle, the ink cup does not move, but the printing plate moves under the ink cup. In both cases the end result is that the surface of the printing plate is cleaned up and the engraved image is left behind with the ink. Printing International has four different diameters of ink cups as standard, namely 65mm / 90mm / 130mm / 160mm.
step 1: inking the printing plate
step 2: scrape off excess ink
step 3: ink take-up
step 4: positioning for transferring the ink
step 5: transferring the ink onto the product
step 6: end of the printing cycle
 DSTAR machine

WeChat
Scan the QR Code with wechat