Printing a wooden texture on a shoe heel using a pad printing machine requires some specialized equipment and a multi-step process. Pad printing is a versatile technique commonly used for decorating 3D surfaces like shoe heels. Here’s a general guide on how to achieve a wooden texture print on a shoe heel using a pad printing machine:
Materials and Equipment Needed:
- Shoe heels
- Pad printing machine
- Wooden texture design or image
- Pad printing ink (preferably brown or wood grain colors)
- Pad printing pads (soft silicone pads)
- Cliché plate with the wooden texture design
- Solvent for cleaning cliché plate and pad printing pads
- Drying equipment (if needed)
Step-by-Step Instructions:
- Prepare the Design:
- Create or acquire a wooden texture design or image that you want to print on the shoe heel. Ensure that the design is appropriately sized to fit the heel’s surface.
- Prepare the Pad Printing Machine:
- Set up the pad printing machine according to the manufacturer’s instructions. Ensure that it is in good working condition and properly calibrated.
- Prepare the Shoe Heels:
- Clean the shoe heels to remove any dirt, dust, or oil. It’s essential to have a clean and smooth surface for successful printing.
- Prepare the Ink:
- Choose an ink color that resembles wood grain, typically brown or a wood-like shade.
- Stir the ink thoroughly to ensure a consistent texture and color.
- Prepare the Cliché Plate:
- The cliché plate holds the design that will be transferred to the shoe heel.
- Apply a thin, even layer of ink to the cliché plate with a spatula or ink cup. Ensure that the ink covers the design completely but not excessively.
- Position the Cliché Plate:
- Carefully position the cliché plate with the wooden texture design over the shoe heel in the desired location.
- Perform the Printing:
- Lower the pad printing machine’s pad, which is typically a soft silicone pad, onto the cliché plate. The pad will pick up the inked design from the cliché plate.
- Lift the pad with the inked design and align it with the shoe heel’s surface.
- Gently press the pad onto the shoe heel, transferring the inked design. Apply even pressure to ensure a uniform print.
- Lift the pad from the shoe heel, leaving the wooden texture design behind.
- Drying (if necessary):
- Depending on the ink used, you may need to allow the printed design to dry or cure for a specified period. Follow the ink manufacturer’s recommendations.
- Cleaning:
- Clean the cliché plate and pad printing pad thoroughly with a suitable solvent to remove any remaining ink.
- Quality Control:
- Inspect the printed wooden texture on the shoe heel for any imperfections or inconsistencies. Touch up or repeat the printing process if necessary.
- Finish and Protect:
- Once the print is dry and satisfactory, consider applying a clear protective finish or topcoat to protect the wooden texture print and enhance its durability.
It’s important to note that pad printing requires some practice to achieve consistent and high-quality results. Be sure to follow safety guidelines when working with pad printing inks and solvents, and consult the specific instructions provided by your pad printing machine manufacturer and ink supplier.
Shoe heel printing Machine pictures
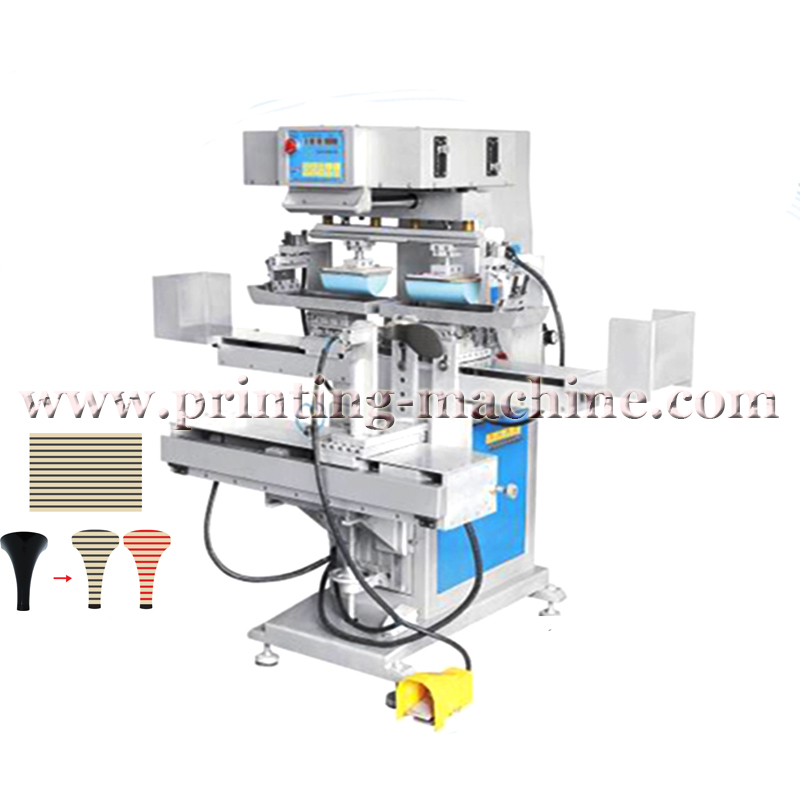
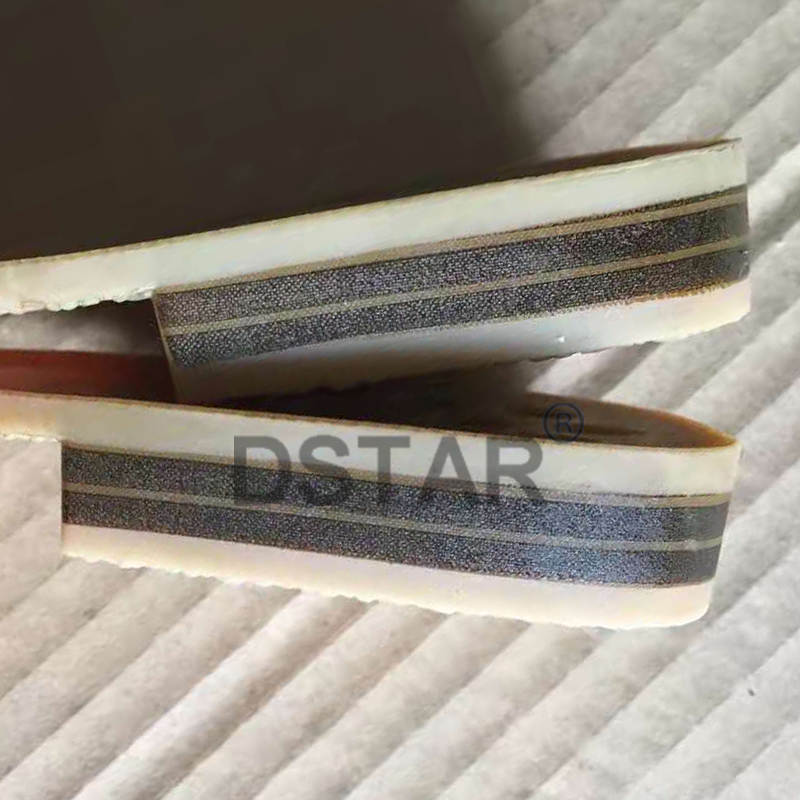

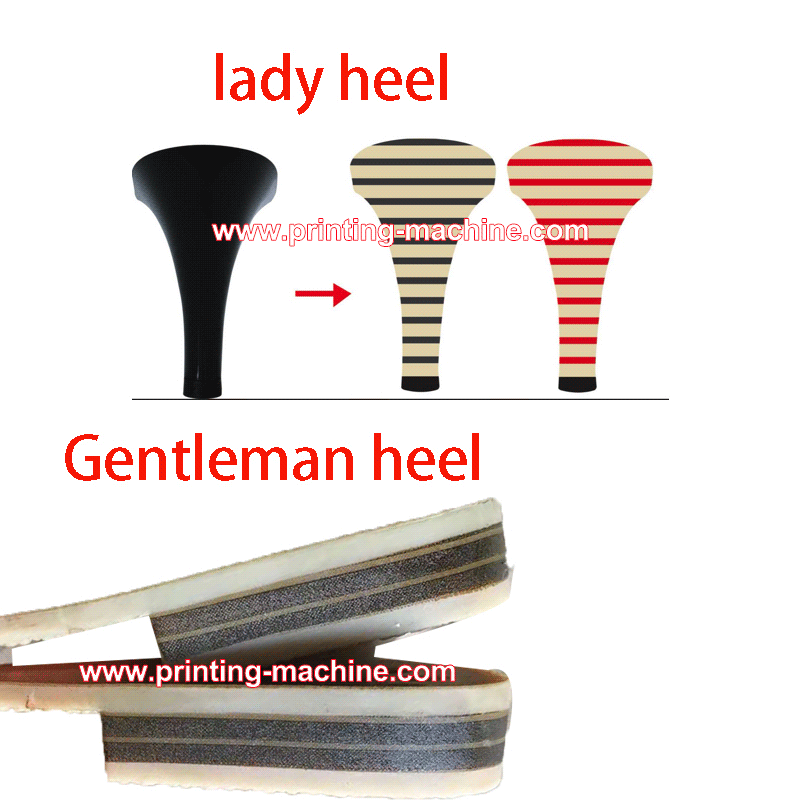
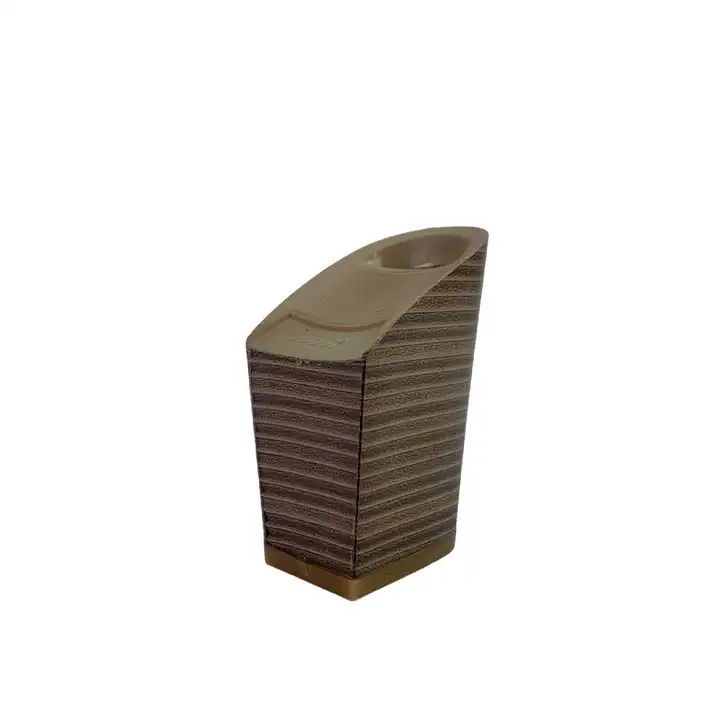
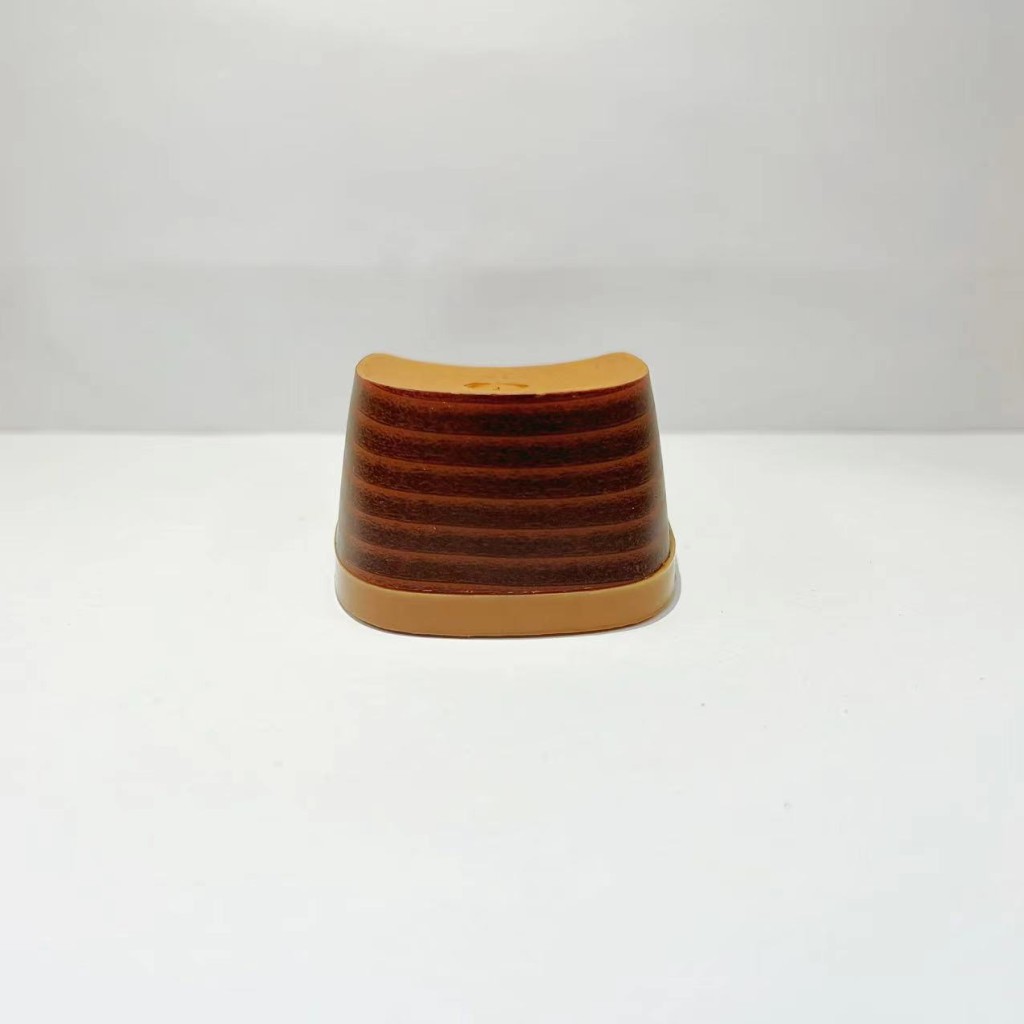
 DSTAR machine

WeChat
Scan the QR Code with wechat