How to make a pad printing plate (cliche)?
Creating a pad printing plate (cliche) involves several steps. Here’s a general guide on how to make a pad printing cliché:
- Design Preparation: Start by creating or preparing the design that you want to transfer onto the printing surface. This can be done using graphic design software or by hand.Such as CorelDraw,Illustrator
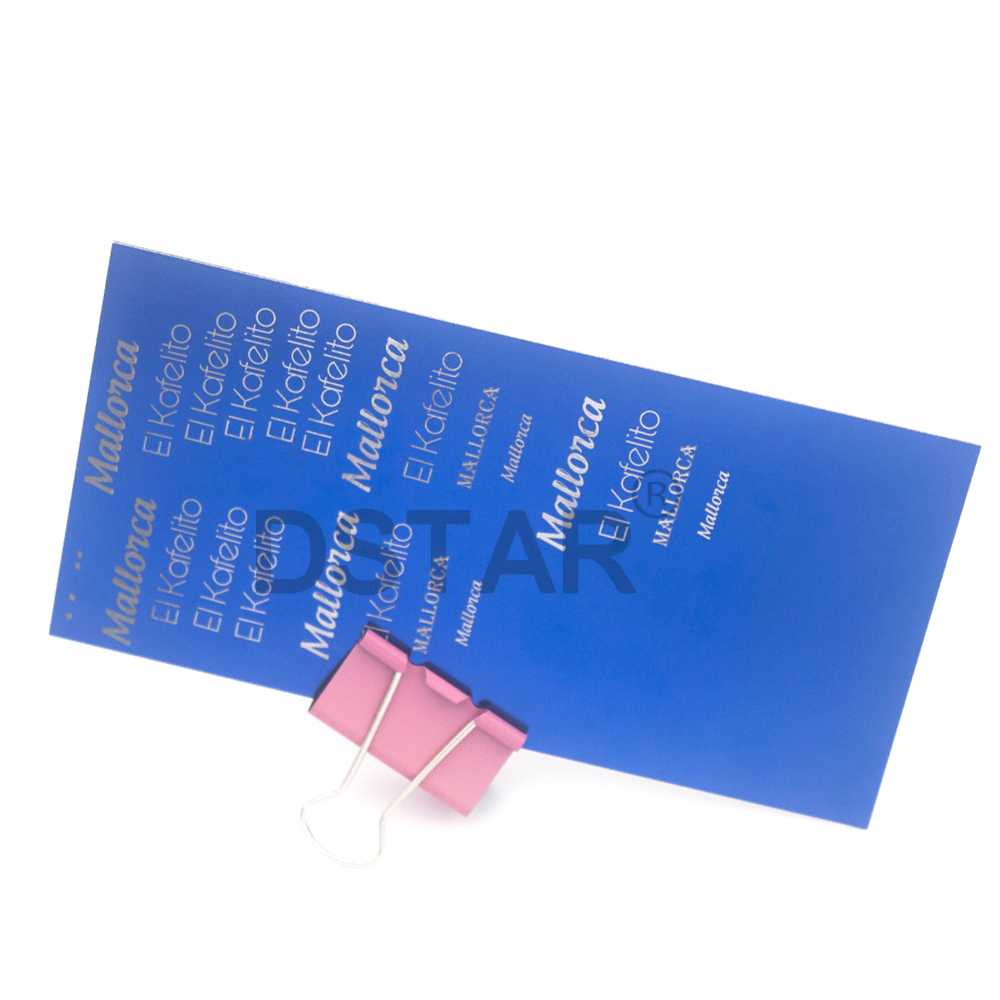
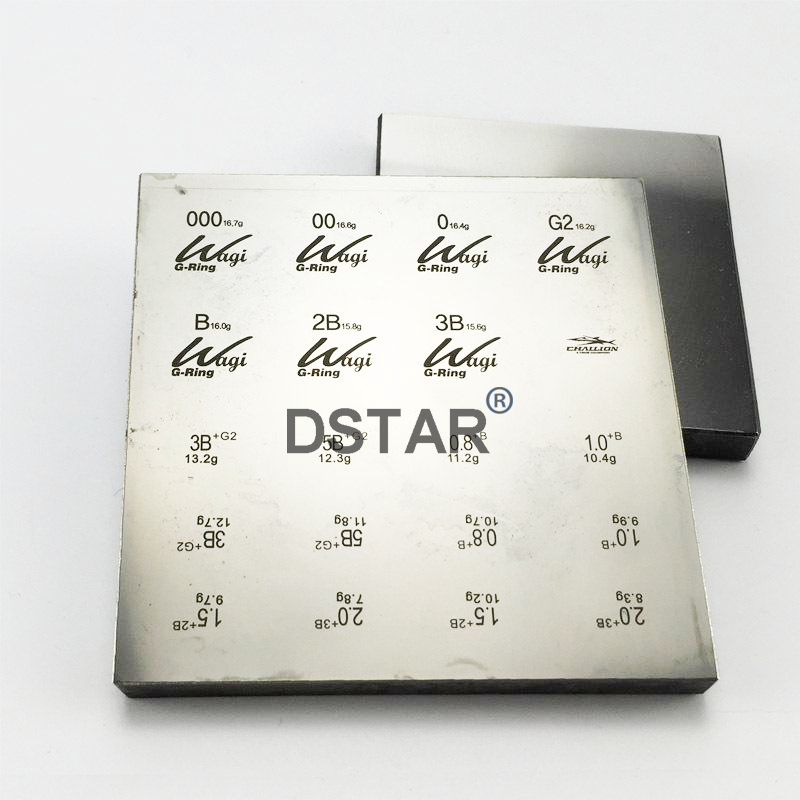
- Choose the Cliché (printing plate) Material: Select a suitable cliché material based on your specific requirements. Common materials include laser pad printing plate, photopolymer plate, or steel plates. Each material has its own advantages and considerations.
- Laser pad printing plate featured with simple processing without artwork film.But the plate cost expensive and it can’t be used for making CMYK color processing with dots artwork.What’s more!The use life can’t be as long as steel plate.
- Photopolymer plate is featured with easy operation with exposure and water washing only.It can lasts longer use life than laser printing plate,but expensive as well.
- Steel printing plate is the commonly and cheap option for pad printing.But it requires chemical etching which it’s a technical jobs and the chemical etching material not easy to buy in some countries.It’s cheap price and long use life.
- Plate Preparation: If you’re using a polymer or photopolymer plate, follow the manufacturer’s instructions for plate preparation. This typically involves exposing the plate to ultraviolet light or using a laser to etch the design onto the plate. Steel plates may require etching or engraving using specialized equipment.
- Image Transfer: Once the plate is prepared, transfer the design onto the cliché. This can be done through various methods depending on the cliché material. For example, with polymer or photopolymer plates, you may use a film positive to expose the plate to UV light. Steel plates may require a chemical etching process or a direct engraving technique.
- Plate Development: After the image transfer, develop the plate according to the manufacturer’s instructions. This usually involves rinsing or washing the plate to remove any unexposed or unetched areas, leaving behind the raised design that will hold the ink.
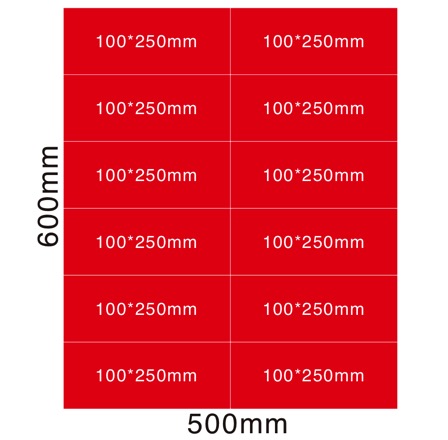
- Finishing: Once the cliché is developed, you may need to trim or cut it to the desired size and shape. This step ensures that the cliché fits properly into the pad printing machine.
- Mounting: Mount the cliché onto the pad printing machine or cliché holder as per the machine’s instructions. Ensure it is securely fixed in place.
It’s important to note that the specific process may vary depending on the type of cliché material and the equipment you are using. It’s recommended to refer to the instructions provided by the manufacturer of your specific cliché material and pad printing machine for detailed guidance.
Additionally, if you are new to pad printing or require precise and professional results, it may be beneficial to consult with experts in the field or consider outsourcing the cliché-making process to experienced professionals.


 DSTAR machine

WeChat
Scan the QR Code with wechat